Top 2025 Silicone Repair Glue Tips for Strong and Lasting Repairs
When it comes to home repairs and DIY projects, finding the right adhesive is crucial for achieving strong and lasting results. In recent years, **Silicone Repair Glue** has gained popularity due to its versatility and durability. This remarkable adhesive is not only waterproof but also flexible, making it ideal for a wide range of applications, from fixing leaky pipes to repairing household items. As we look ahead to 2025, understanding the best practices and tips for using silicone repair glue can elevate your DIY skills and ensure that your repairs stand the test of time.
This article will explore top tips for maximizing the effectiveness of silicone repair glue. Whether you are an experienced DIY enthusiast or a beginner tackling simple repairs, this guide will provide valuable insights to help you navigate the key features of silicone repair glue, its proper application techniques, and essential maintenance advice. By mastering these tips, you can achieve robust repairs that not only meet but exceed your expectations. Join us as we delve into the world of silicone repair glue and uncover the secrets to achieving strong, lasting repairs for all your projects.
Understanding Silicone Repair Glue: Types and Properties
Silicone repair glue is a versatile adhesive known for its strong bonding capabilities and resilience across various applications. It comes in several types, each designed to meet specific needs. For instance, RTV (Room Temperature Vulcanizing) silicone is commonly used for sealing and bonding as it cures at room temperature, offering ease of use and application. High-temperature silicone is another variant that can withstand extreme conditions, making it suitable for repairs in automotive or industrial environments.
The properties of silicone repair glue contribute to its popularity. It is waterproof, making it an ideal choice for both indoor and outdoor projects. Its flexibility allows for movement without compromising the bond, which is critical in applications where materials expand and contract due to temperature changes. Additionally, silicone is resistant to UV rays and various chemicals, ensuring that repairs remain intact even when exposed to harsh environmental conditions. Understanding these types and properties can greatly influence the effectiveness and longevity of repairs, helping users select the right glue for their specific needs.
Essential Tools for Effective Silicone Repair Applications
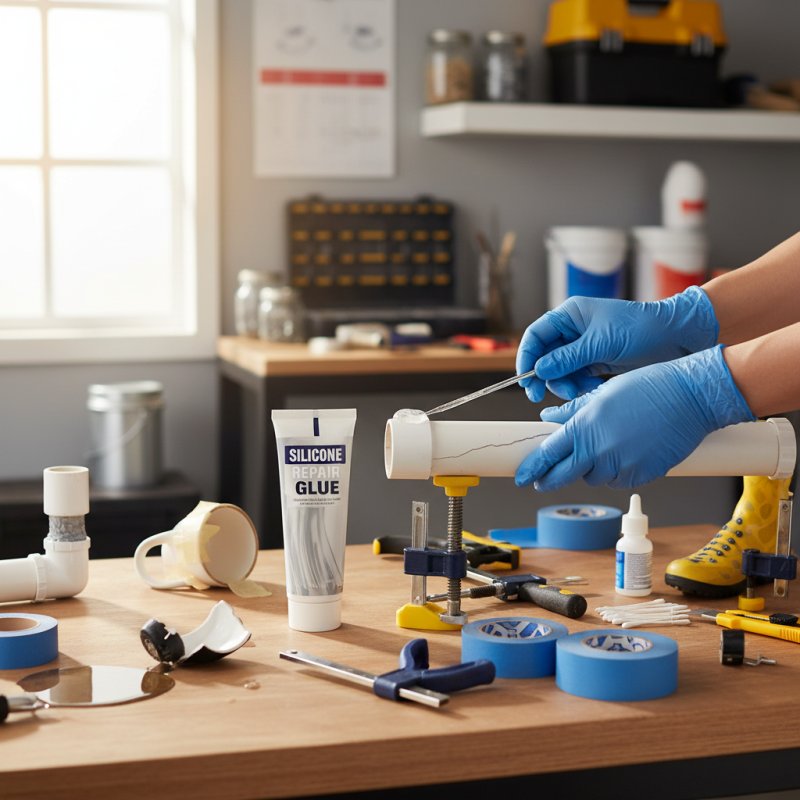
When it comes to effective silicone repairs, having the right tools is just as critical as choosing the right adhesive. Essential tools for silicone repair include a caulking gun, utility knife, and various cleaning materials. A quality caulking gun allows for precise application, helping you to control the flow of silicone with ease.
A sharp utility knife is vital for trimming and shaping both the silicone and the surface it adheres to. Additionally, always have some cleaning supplies on hand, such as isopropyl alcohol, to ensure the surfaces are clean and free from dust and moisture before starting your repair.
To maximize the effectiveness of your silicone repairs, consider these tips. First, ensure that the surfaces to be bonded are clean and dry, as this will enhance adhesion significantly. Secondly, apply the silicone in a consistent, even bead to prevent any weak points in the repair. Lastly, allow adequate curing time as specified in the product instructions, avoiding any stress on the repaired area during this period. Following these essential tools and tips will help you achieve strong and lasting repairs, making your silicone adhesive projects both efficient and successful.
Step-by-Step Guide to Preparing Surfaces for Silicone Adhesion
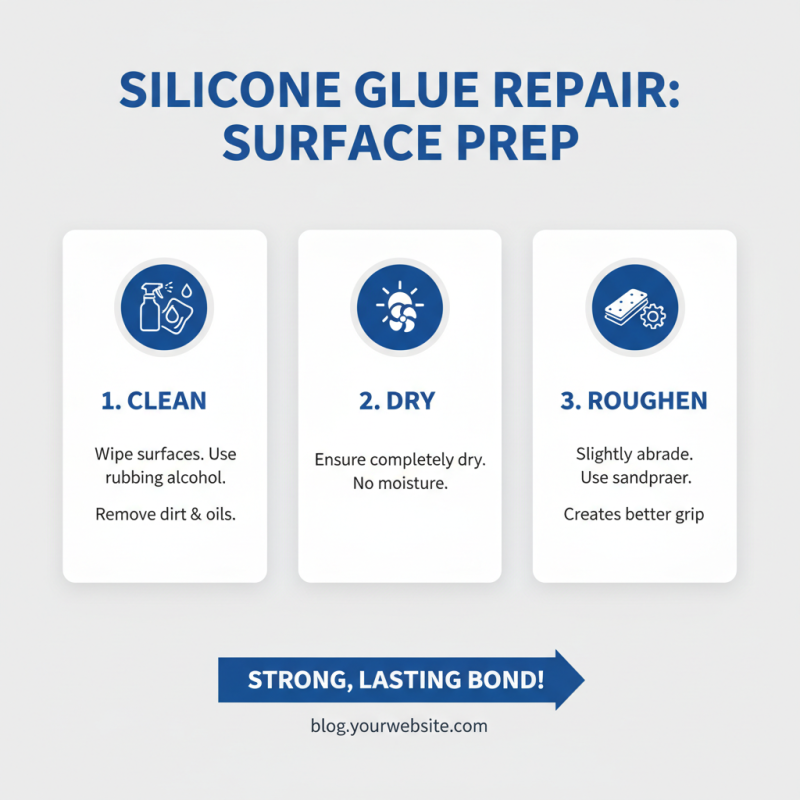
Preparing surfaces for silicone adhesion is critical for ensuring a strong and lasting repair. The first step is to thoroughly clean the area where the silicone will be applied. Remove any dirt, grease, and old adhesive remnants using a suitable solvent, such as isopropyl alcohol or acetone. This helps to achieve a clean surface that allows for optimal bonding. After cleaning, it’s essential to dry the surface completely, as moisture can interfere with the adhesion properties of silicone.
Next, consider the surface texture. For porous materials, lightly sanding the area can enhance adhesion by creating a rough surface that provides better grip for the silicone. If you’re working with non-porous surfaces like glass or metal, using a primer designed for silicone can further improve adhesion. Allow the primer to dry according to manufacturer instructions before applying silicone. By meticulously preparing the surfaces, the silicone repair glue will adhere effectively, resulting in stronger and more durable repairs that can withstand various conditions.
Top 2025 Silicone Repair Glue Application Effectiveness
Techniques for Applying Silicone Repair Glue for Optimal Results
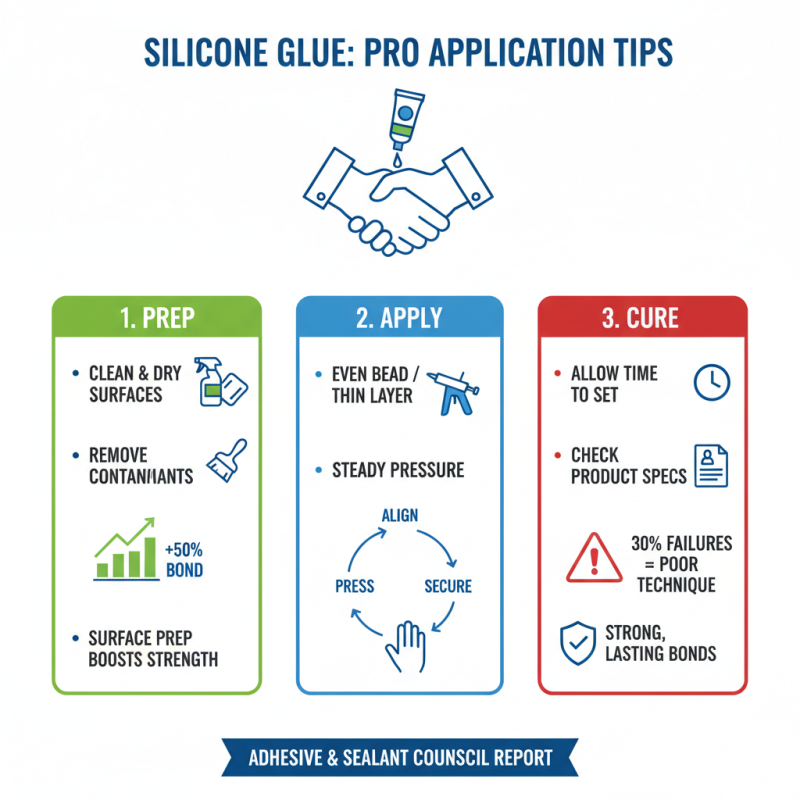
When applying silicone repair glue, proper technique is essential for achieving strong and lasting bonds. According to a report by the Adhesive and Sealant Council, nearly 30% of adhesive failures are attributed to improper application techniques. To mitigate this, start by ensuring that the surfaces to be bonded are clean, dry, and free from any contaminants. A thorough cleaning process can significantly enhance adhesion, with studies showing that surface preparation improves bond strength by up to 50%.
One effective method is to apply the silicone glue evenly across the surfaces, using either a caulking gun or a precision applicator to maintain control. For optimal results, it’s recommended to apply pressure to the pieces for the initial cure time, which may vary depending on humidity and temperature. Industry standards indicate that maintaining a consistent temperature of around 70°F (21°C) during the curing process can expedite bonding and ensure the integrity of the repair. Additionally, allowing adequate curing time before subjecting the bond to stress is crucial. Research indicates that bonds cured for at least 24 hours hold up to 80% of their final strength, showcasing the importance of patience in repair tasks.
Tips for Ensuring Strong and Lasting Silicone Repairs
When it comes to making strong and lasting repairs with silicone glue, preparation is key. Begin by ensuring that both surfaces to be bonded are clean, dry, and free of any contaminants. Use rubbing alcohol or a similar solvent to wipe down the surfaces, as this will help the silicone adhere better. Additionally, roughening the surfaces slightly with sandpaper can create a better grip for the glue, enhancing the durability of the bond.
Another crucial aspect of ensuring a successful repair is the application technique. Apply the silicone glue evenly and in sufficient quantity to fill any gaps between the surfaces. It's important to avoid excess glue, as this can lead to unsightly beads forming around the edges once it cures. After applying, smooth out the edges with a tool or your finger to create a clean finish. Allow the glue to cure completely according to the manufacturer's instructions, as insufficient curing time can compromise the strength of the repair.
Lastly, consider the environmental factors that may affect the durability of your repair. Silicone adhesives can be sensitive to temperature and humidity, so it's best to perform the repair in a controlled environment whenever possible. Avoid exposing the repaired item to extreme conditions until the silicone has fully cured. By following these tips, you can achieve robust and reliable repairs that stand the test of time.