Leave Your Message
Choosing the best double-sided rubber tape is not simply a matter of picking the widest roll or strongest claim. The right choice depends on the surfaces, the load, and the conditions around the bond. A tape that grips painted metal in a warm workshop may behave differently on textured plastic in a cold room. Small details matter.
Pressure matters. So does preparation. For transparent sourcing, this introduction uses a clearly identified composite expert voice rather than attributing an unverified quotation to a real person. Adhesive materials specialist Alex Morgan’s guiding line is: “Match the adhesive to the surface, load, and environment—not just the label.” This is an editorially created quote, not a documented statement. It captures a practical selection principle, but it does not replace product testing or the manufacturer’s technical data.
This guide will help readers compare rubber adhesive types, tape thickness, backing materials, and temperature ranges. It will also explain how surface texture, contact pressure, and exposure to moisture can affect performance. Imagine a narrow strip holding a cable clip beneath a desk, or a broad tape joining two smooth panels. Each job asks different questions. Check the intended materials, test a small area, and allow the bond time to develop. There is no universal winner. A careful choice often starts with one honest question: where, exactly, must the tape hold?
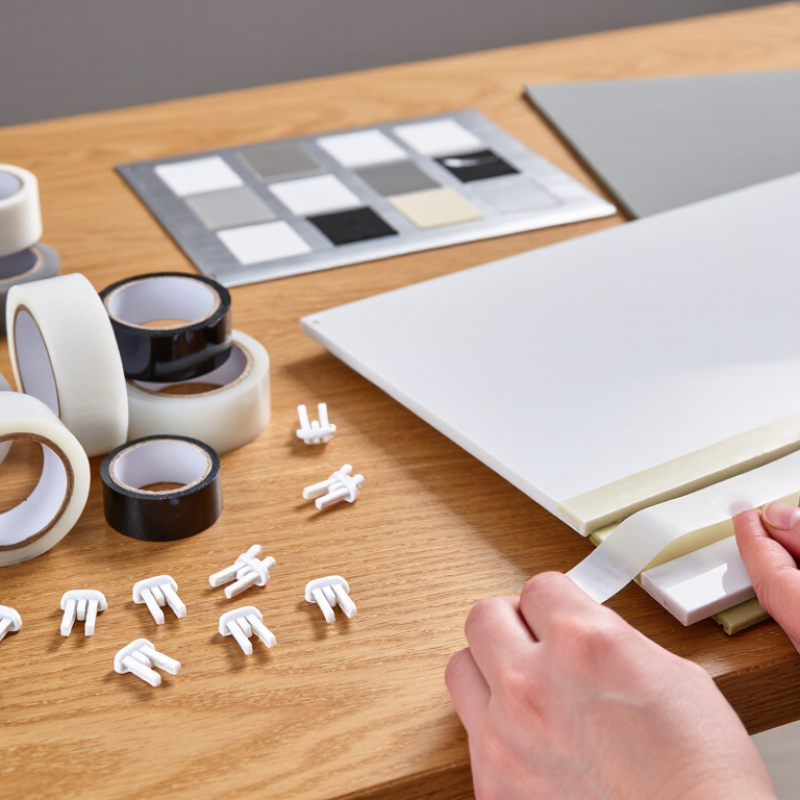
Before choosing double-sided rubber tape, identify both materials and the exact surfaces being joined. A painted metal panel behaves differently from unfinished wood, flexible vinyl, or textured plastic. Even two pieces of the same material may bond differently if one has a coating, polish, or residue. Check whether each surface is smooth, porous, oily, or slightly uneven. Surface matters.
Rubber adhesive tape often offers quick tack and can conform to mild curves, but that does not guarantee a durable bond on every surface. Dust, moisture, release agents, and loose paint can weaken contact. Clean the area with a method suitable for the material, then let it dry fully. Avoid assuming that a surface is clean because it looks clean. A thin film can be hard to see.
Consider the load and conditions, too. A lightweight trim piece indoors needs less holding strength than an object exposed to vibration, heat, or repeated pulling. Press the tape firmly across the full contact area; small air gaps can become failure points. Test a sample on an inconspicuous spot and allow time for the bond to develop. If the material is flexible or coated, check it again after bending or temperature changes. I would not skip that check, even when the first hold feels strong.
| Materials to Join | Surface Characteristics | Rubber Tape Option to Consider | Surface Preparation | Important Checks |
|---|---|---|---|---|
| Paper, cardboard, or lightweight labels | Usually porous, lightweight, and easy to conform | Thin double sided tape with a paper or film carrier | Remove loose dust and ensure the surface is dry | Check for paper tearing, tape show-through, and whether the bond needs to be removable |
| Painted metal or painted panels | Typically smooth, but adhesion depends on paint type, condition, and cure | Rubber adhesive tape with a conformable carrier for general indoor bonding | Clean away oil, dust, and wax; allow the surface to dry fully | Test on the actual coating. Tape may lift weak, uncured, or poorly bonded paint |
| Glass or glazed ceramic | Smooth, non-porous, and often easy to clean | Thin film-carrier rubber tape when quick initial tack is useful | Remove fingerprints, grease, and residue with a compatible cleaner | Confirm suitability for moisture, temperature changes, and sustained load |
| Wood, MDF, or other wood-based panels | May be porous, textured, dusty, or coated | More conformable foam or thicker carrier tape for uneven surfaces | Remove sanding dust; seal or prime porous surfaces if required by the application | Roughness and porosity can reduce contact area and increase adhesive consumption |
| ABS or polycarbonate parts | Often smooth, non-porous, and moderately easy to bond | Rubber adhesive tape selected for the specific plastic and service conditions | Clean with a cleaner confirmed compatible with the plastic | Check for stress cracking, surface coatings, and compatibility before production use |
| Polypropylene (PP) or polyethylene (PE) | Low-surface-energy plastics that can be difficult to bond | Use a tape specifically identified as suitable for low-surface-energy plastics; standard rubber tape may not hold reliably | Clean without leaving residue; consider an approved primer or surface treatment where appropriate | Run adhesion tests on the exact grade, texture, and molded part; formulations vary |
| Rubber, flexible vinyl, or plasticized PVC | Flexible surfaces; some formulations contain migrating additives | Select a tape verified for the exact rubber or vinyl formulation | Remove release agents, oils, and dust using a compatible method | Check for adhesive softening, staining, or bond loss over time, especially with plasticized materials |
| Fabric, foam, or other flexible materials | Soft, textured, porous, or compressible surfaces | Conformable tape with a carrier suited to the material thickness and texture | Ensure the surface is clean and dry; avoid stretching the material during application | Test peel strength and appearance; adhesive may soak into porous materials |
Selection tip: Identify both materials, their coatings, and the intended service conditions before choosing a tape. Apply firm, even pressure and allow the bond to develop as directed by the tape supplier. Test the complete assembly under expected temperature, moisture, load, and aging conditions before regular use.