How to Use Silicone Adhesive Dots for Easy Crafting?
When it comes to crafting, the right tools make all the difference. Silicone Adhesive Dots have gained popularity among crafters for their versatility and ease of use. Sarah Thompson, a crafting industry expert, once said, "Silicone Adhesive Dots are a game-changer for DIY enthusiasts and professionals alike."
These small dots offer a mess-free solution for attaching various materials. Whether you’re working on scrapbooking or home décor projects, they can provide a strong bond while being easy to remove. However, one might find that not all surfaces adhere equally well. Testing them on different materials can help ensure the best results.
Using Silicone Adhesive Dots can sometimes feel intimidating. The initial application may not be perfect, leading to imperfections. It’s a learning curve. Embracing these little missteps can ultimately improve craftsmanship. That’s why understanding how to use them effectively is crucial for any crafter. Crafting is about creativity, and these dots are a tool to enhance that journey.
Types of Silicone Adhesive Dots Available for Crafting
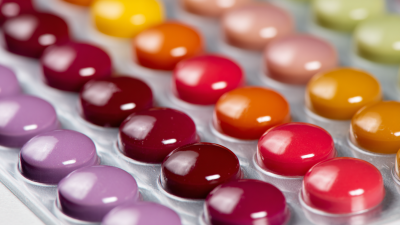
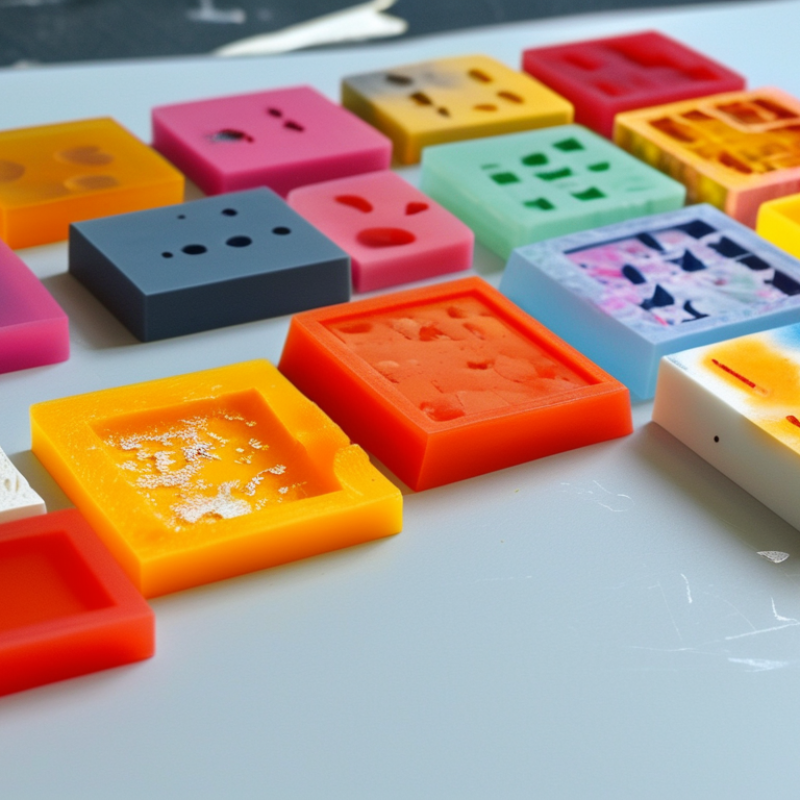
When diving into the world of crafting, silicone adhesive dots can be a game changer. They come in various types, each designed for specific crafting needs. There are clear dots that blend seamlessly with materials, making them perfect for subtle projects. Then, there are colored dots that add a playful touch to your crafts. The choice of adhesive dot often depends on the material surface and the desired finish.
Heavy-duty silicone adhesive dots are ideal for projects requiring durability. These robust options can hold heavier items without compromising on strength. On the other hand, light adhesive dots are suitable for paper crafts or delicate decorations. While they may not support substantial weight, they are perfect for embellishments. It’s essential to test different types to see which works best for your specific project.
Some crafters find a mismatch between the adhesive dot type and their materials. This can lead to frustration. For example, using light-duty dots on heavier items might not yield the intended results. This trial-and-error process is part of crafting. Embrace the imperfections and learn which adhesives work best with your creative vision.
Choosing the Right Silicone Adhesive Dots for Your Project
Choosing silicone adhesive dots for your crafting project can greatly influence the outcome. To ensure your project goes smoothly, consider the size and strength of the dots. For lightweight materials, smaller dots work perfectly. Heavy items may require larger, sturdier dots.
When selecting adhesive dots, think about the surfaces you will be using. Some dots are better suited for fabric, while others work well on plastic or paper. Testing a dot on a scrap piece of your material is wise. This can save you from potential mishaps.
Tips: Always check the adhesive strength. Using dots that are too weak could lead to your project falling apart. Temperature can also affect adhesion. If working in a cold environment, warm the dots slightly before use. A careful choice of silicone adhesive dots can make your crafting experience more enjoyable and fruitful. What works perfectly for one project may not suit another.
How to Use Silicone Adhesive Dots for Easy Crafting? - Choosing the Right Silicone Adhesive Dots for Your Project
| Project Type |
Recommended Dot Size |
Application Surface |
Drying Time |
Weight Limit |
| Scrapbooking |
Small (5mm) |
Cardstock, Paper |
5-10 minutes |
Up to 0.5 lbs |
| Home Decor |
Medium (10mm) |
Wood, Fabric |
10-15 minutes |
Up to 2 lbs |
| Kids’ Crafts |
Small (5mm) |
Paper, Plastic |
5-10 minutes |
Up to 0.3 lbs |
| Jewelry Making |
Tiny (3mm) |
Metal, Beads |
10-12 minutes |
Up to 0.2 lbs |
| Gift Wrapping |
Small (5mm) |
Paper, Cardboard |
2-5 minutes |
Up to 0.5 lbs |
Step-by-Step Guide to Applying Silicone Adhesive Dots
Silicone adhesive dots are perfect for various crafting projects. They provide a strong hold and are easy to use. Here’s a step-by-step guide to applying them effectively.
Begin by cleaning the surface where you want to apply the dot. Dirt and oil can weaken the bond. After that, peel off one dot from the sheet. Press it firmly onto your chosen item. For lightweight materials, one dot may suffice. For heavier items, consider using multiple dots. Ensure they are evenly spaced for better support.
Tips: Test the adhesive dot on a scrap piece first. This forestalls potential errors. If the surface is porous, applying extra dots can enhance stability. Sometimes, dots may not adhere well immediately. Give them some time for the best results.
For tricky surfaces, like fabric or rough textures, the bond may not hold well. In this case, you might need to rethink your approach. Not every project will turn out perfect. Reflect on what works best for your materials. Crafting requires some trial and error. Embrace the learning process for improved results.
Creative Crafting Ideas Using Silicone Adhesive Dots
Using silicone adhesive dots can elevate your crafting projects. These simple tools are great for attaching different materials. They work well with paper, fabric, and even light embellishments. Just peel off the backing and stick. It’s a quick solution that saves time.
One creative idea is to make personalized greeting cards. Place silicone dots to secure decorative items, like ribbons or stickers. This easy method allows for imaginative designs without the mess of traditional glue. You can also create fun art pieces by layering different materials. The dots hold them in place, making it easier to play with textures and colors.
Sometimes, the dots may not hold as well as expected. Be mindful of the weight of the items you're using. Heavy embellishments might require additional support. Experiment with placement and adhesion to find the best results. Remember, crafting is about trial and error. Embrace imperfections; they can lead to unique creations.
Usage of Silicone Adhesive Dots in Crafting
Tips for Removing and Repositioning Silicone Adhesive Dots
Silicone adhesive dots are a great tool in crafting. They provide strong adhesion and can be used on various surfaces. However, sometimes you need to remove or reposition them. This can be tricky if you're not careful.
When you want to remove a silicone dot, peel it off slowly. Start at one edge and work your way across. If it resists, warm it up with your hands. Your body heat can soften the adhesive. This makes it easier to detach without damaging your project underneath. It's important to be gentle to avoid tugging on the materials involved.
Repositioning can also be an art. If you feel the dot is in the wrong spot, lift it quickly. Replacing it too slowly may leave residue behind. If residue does occur, use a sharp object to scrape it gently. Just be cautious; you don’t want to scratch your crafting surface. Always test these actions on a small area first to see how it reacts. Being mindful helps ensure a seamless crafting experience.